If you’ve ever found yourself inside on a cool or rainy day with your kids, this tutorial explaining how to make a dollhouse out of cardboard will be perfect for you! The best part about it is that you probably already have everything you’ll need on hand. We all have that pile of Amazon boxes that we wonder what we should do with them. So the next time you are getting ready to throw out that pile of cardboard boxes, consider hanging on to them for this fun and simple project on How to Make a Dollhouse out of Cardboard.
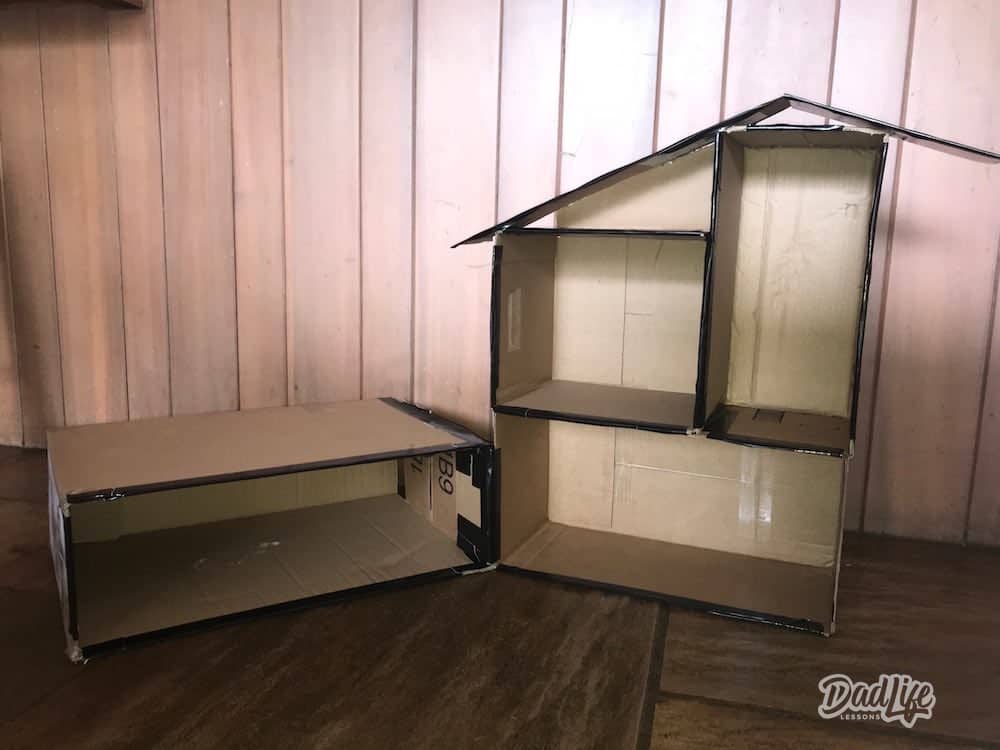
It’s a universal truth that kids find so much joy in something as simple as a cardboard box. Christmas mornings tend to prove that point to us parents when the kids, without fail, find more excitement in the box than in the toy itself. So in keeping with that theory, kids will love this DIY cardboard box dollhouse creation. If you are looking for something to get the kids out of the house then check out our activities for kids post.
How to Make a Dollhouse out of Cardboard
You will need:
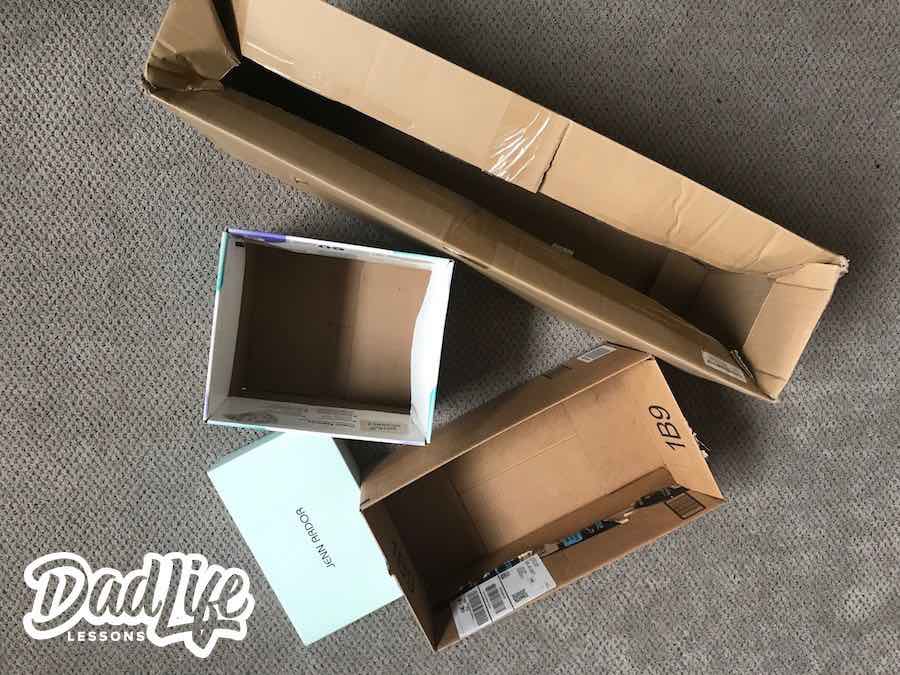
An assortment of boxes (Amazon, FedEx, Ups, Walmart, Shoe boxes it doesn’t matter.) – The more variety in sizes of boxes the better.
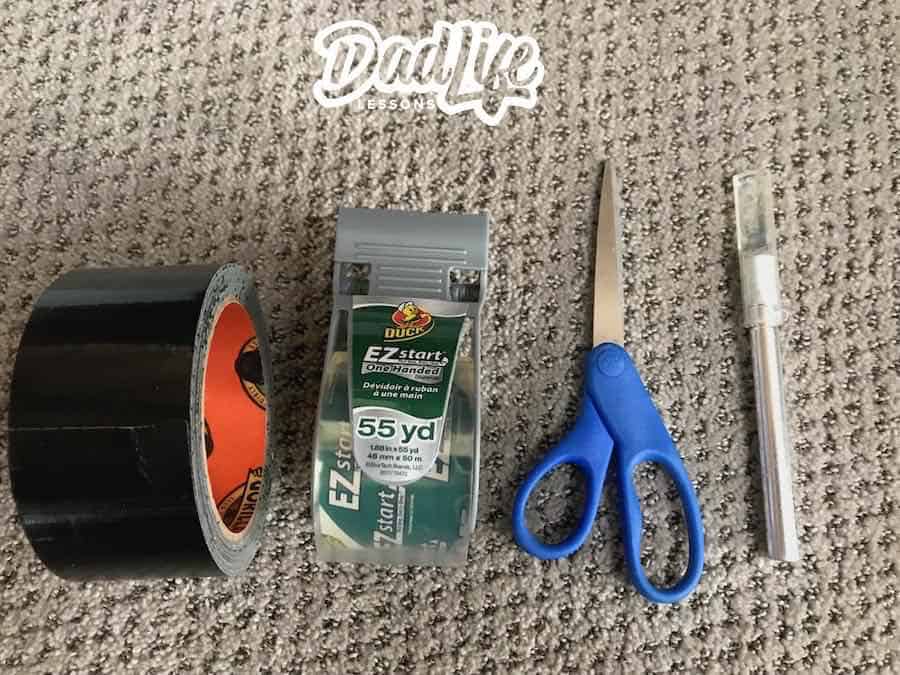
Tape (packing tape, duct tape, or gorilla tape), scissors, and an Exacto knife or box cutter. (If you do any sort of crafting you probably have all of these around your house.) If you don’t have the tape needed you can order this pack of colored duct tape and have it to your house quickly.
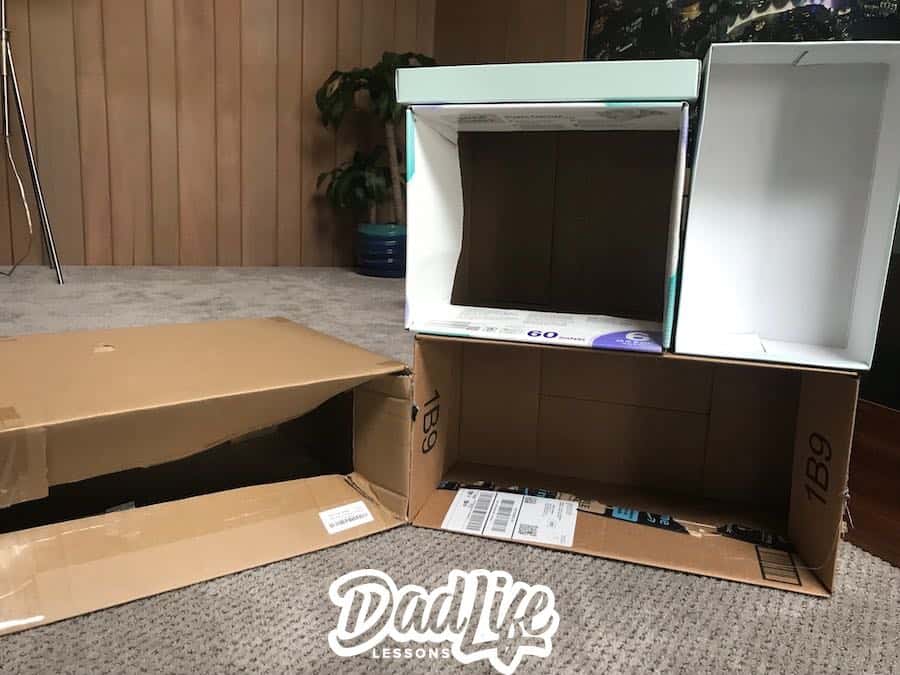
Start off by arranging your boxes in different ways to see what works best for a dollhouse structure. Get the kids input on this part and have fun with it! Keep in mind the dolls, action figures or cars that will need to fit in the dollhouse. You can decide to make one large dollhouse or several small ones, it is up to you and your kids. Don’t tape anything in place just yet!
Next, it’s time to prepare your boxes. Use the box cutter or Exacto knife to remove all the box flaps so you are left with clean edges. This will help you dollhouse have clean lines and avoid having to tape down the flaps.
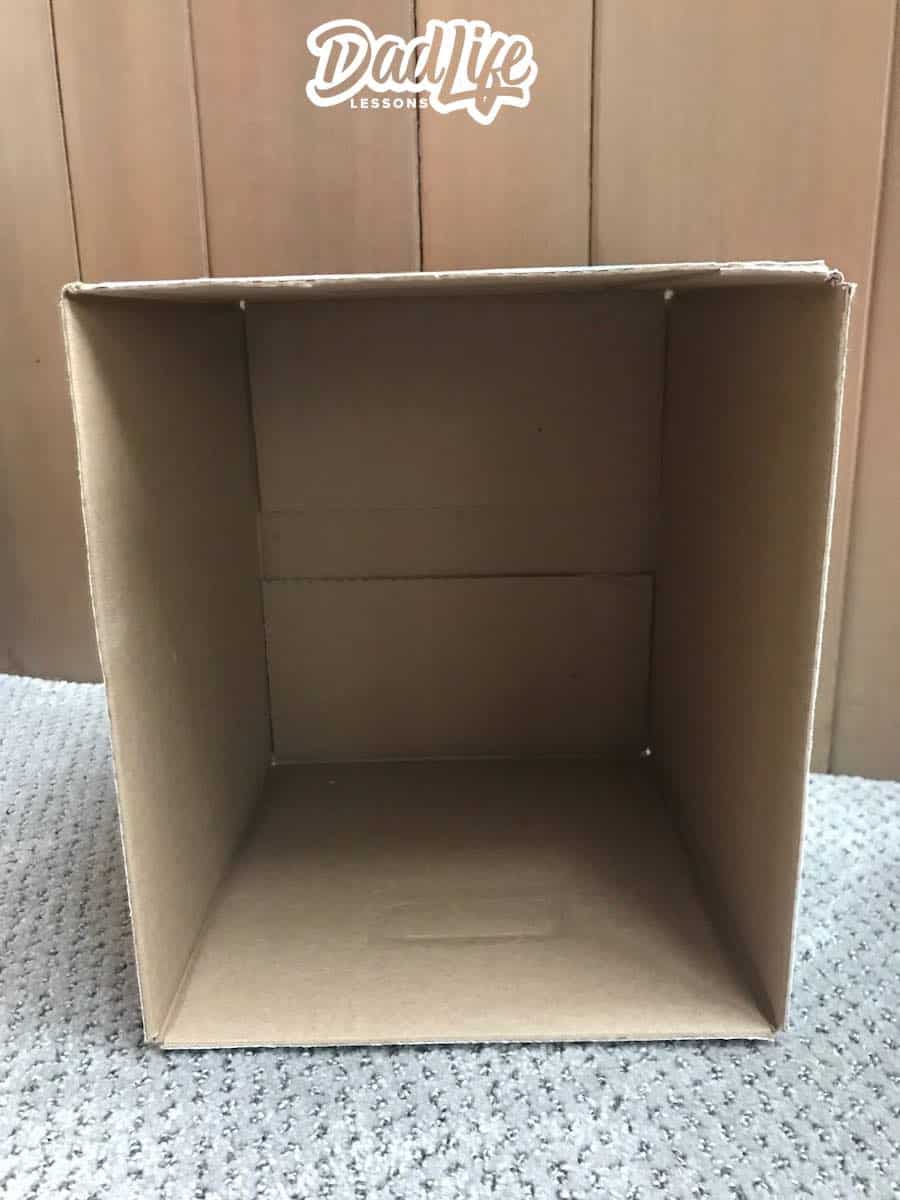
Save the flaps for later use! The flaps for the dollhouse out of cardboard will come in handy for the roof, to add walls, and even to build furniture later on.
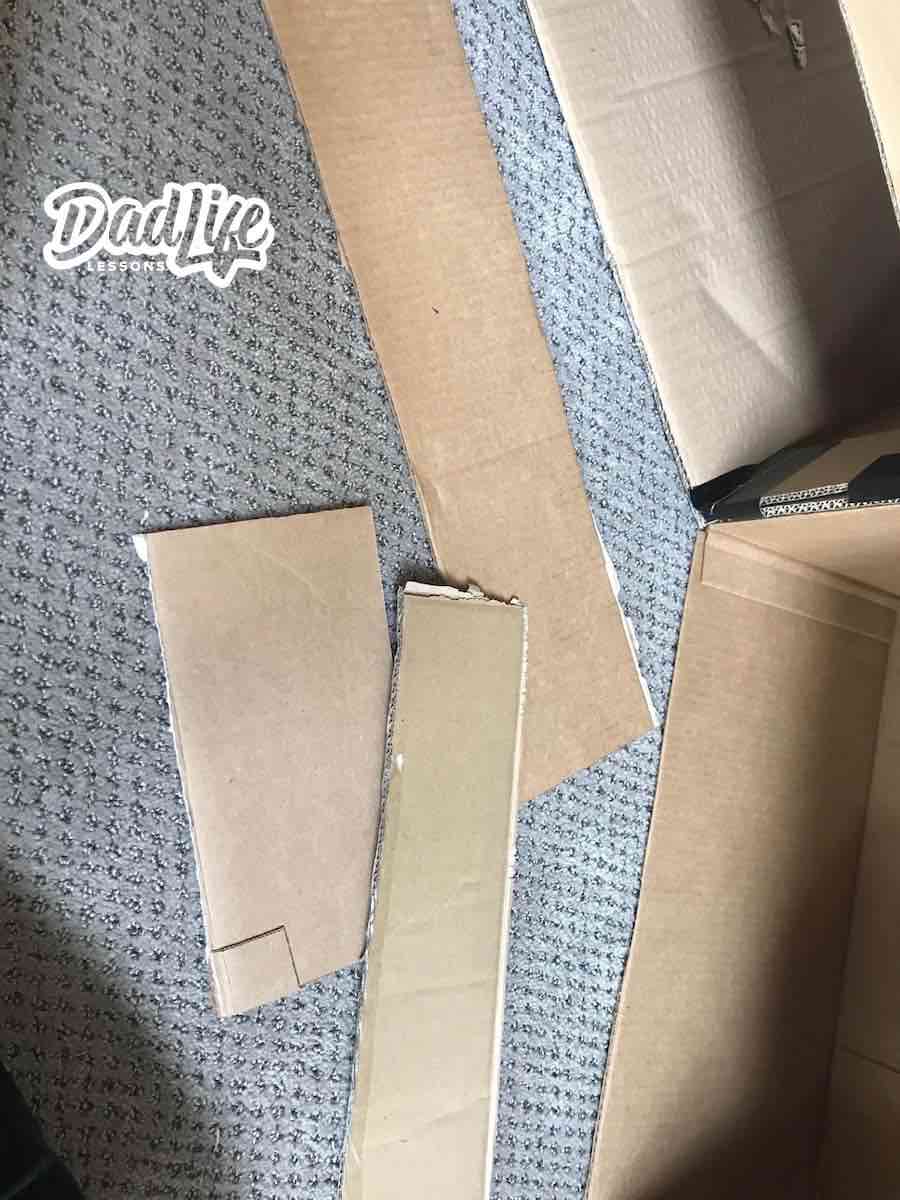
While you are trimming the boxes, check for any areas that need to be patched or strengthened with tape and fix those up now. You can choose to be creative and knock out those flaps for instant windows or tape them to keep it as a wall.
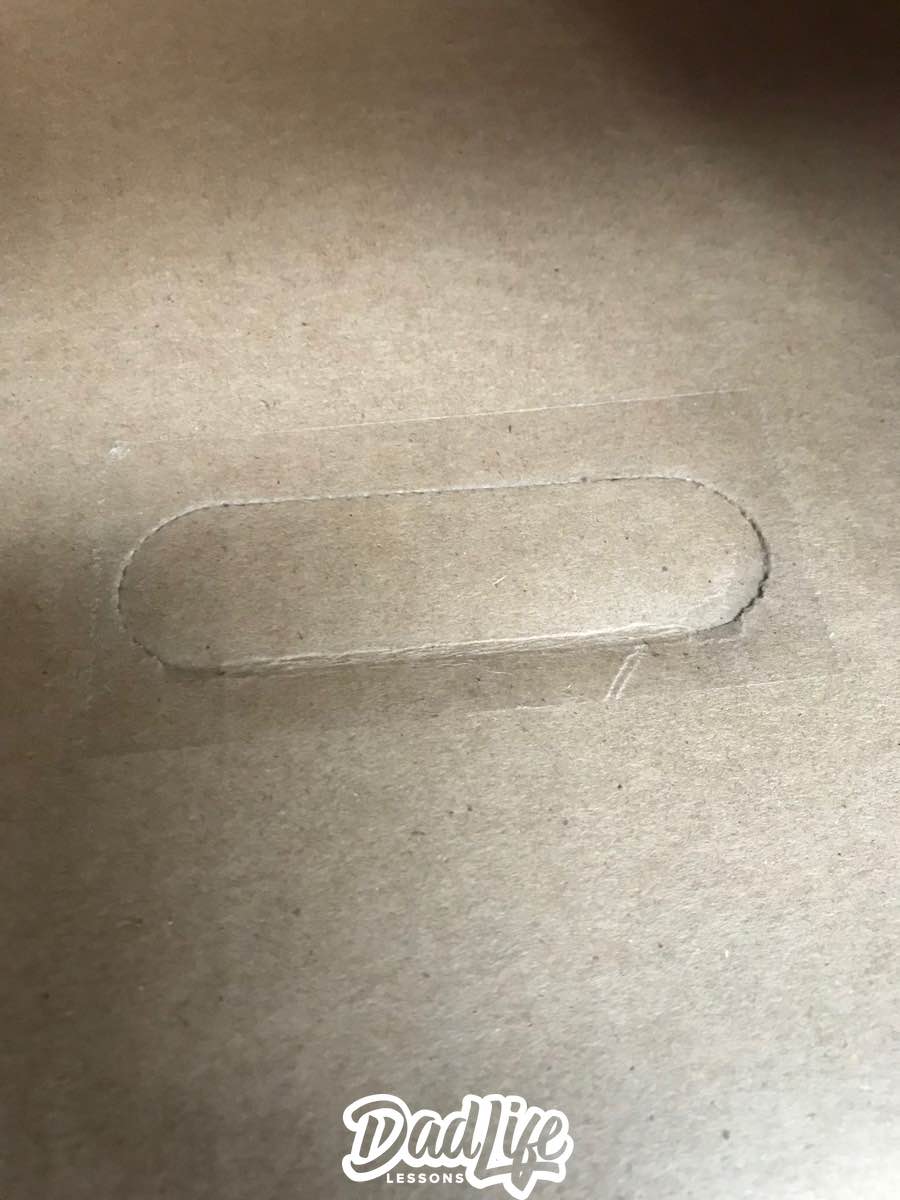
Once all of the boxes are ready, it’s time to go back to assembling the dollhouse. If needed, some boxes can be cut down in size to fit. Once everyone is happy with the layout, you can begin taping everything in place. Dads make sure to ask your kids twice before you move on to the taping part. This will keep you from having to take it apart and re-taping the boxes. You hard at work and might need a laugh break so share our 10 best dad jokes for a quick fun break.
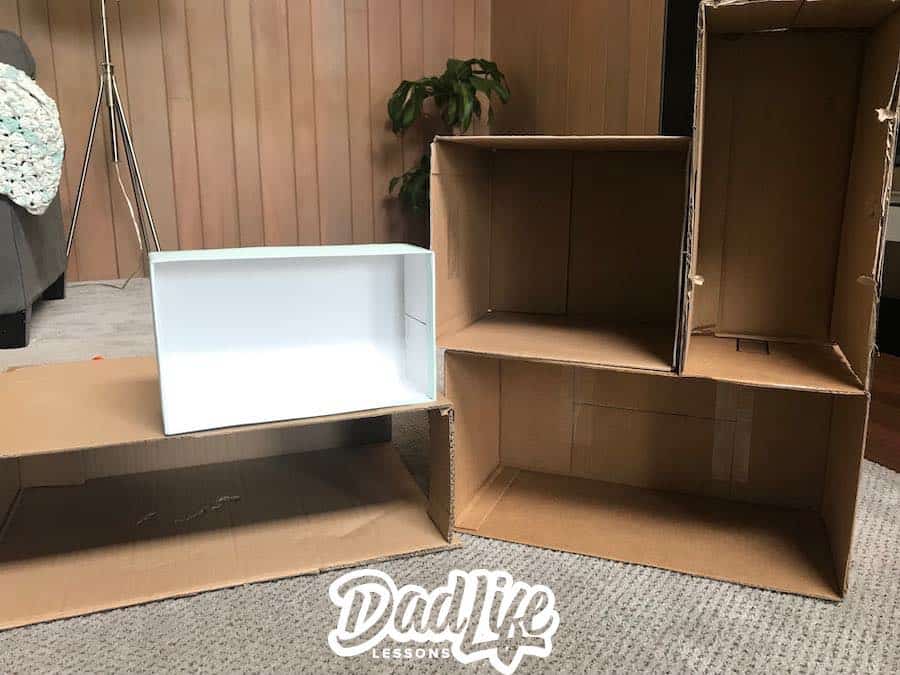
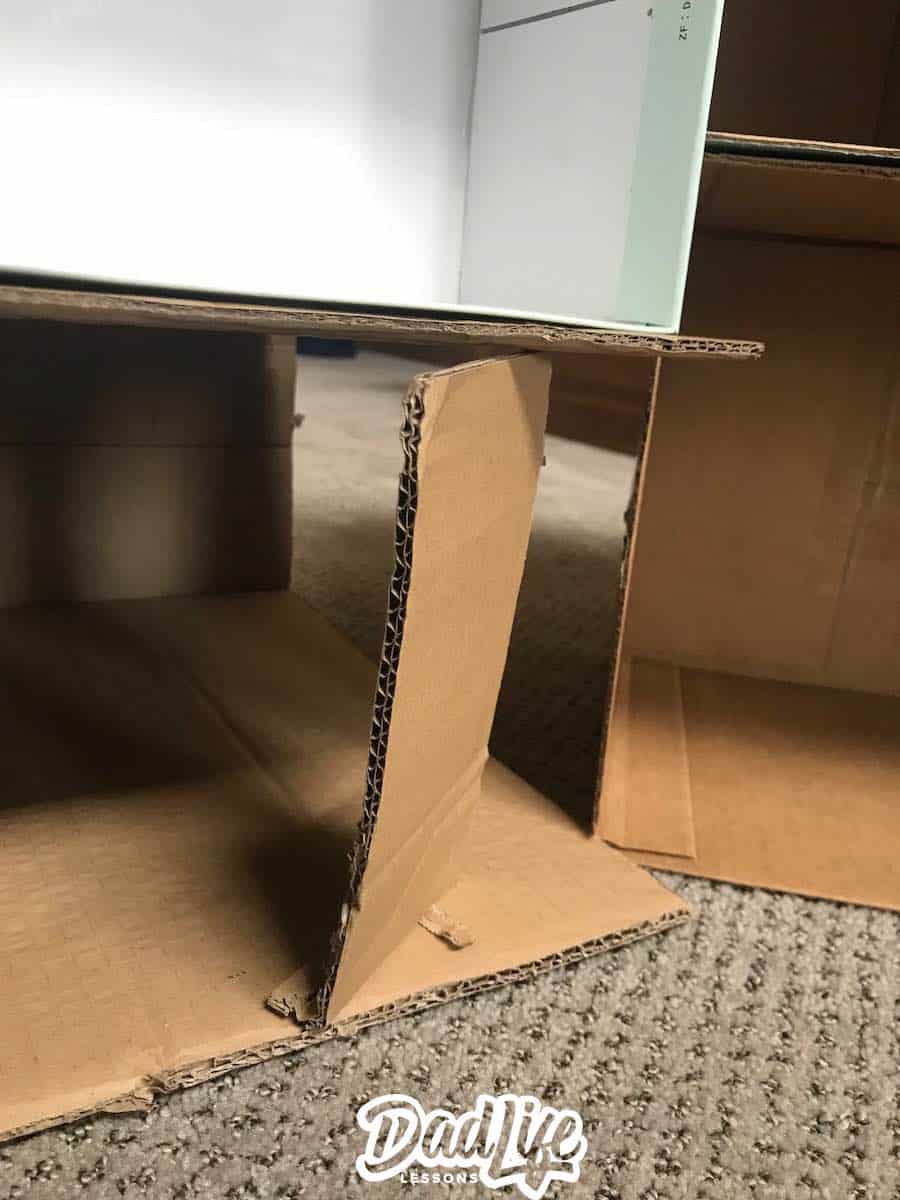
If there are any areas that seem weak, you can use cardboard pieces as supports. The finished dollhouse made out of cardboard is going to see some wear and tear from your kids, so you want to make it as sturdy as possible. Gorilla tape or Duct tape is excellent with cardboard to fashion these supports and make sure they don’t move.
Consider going with a bright colored or patterned duct tape as a design element and let the kids have fun by picking out the colors. You could also let them paint it, use crayons or markers, or add stickers to their new DIY cardboard dollhouse. Another fun idea would be to cover it in scrapbook or construction paper.
After all of the boxes have been securely taped in place, use some of the cardboard flaps you cut off earlier and create a roofline for your dollhouse made out of cardboard.
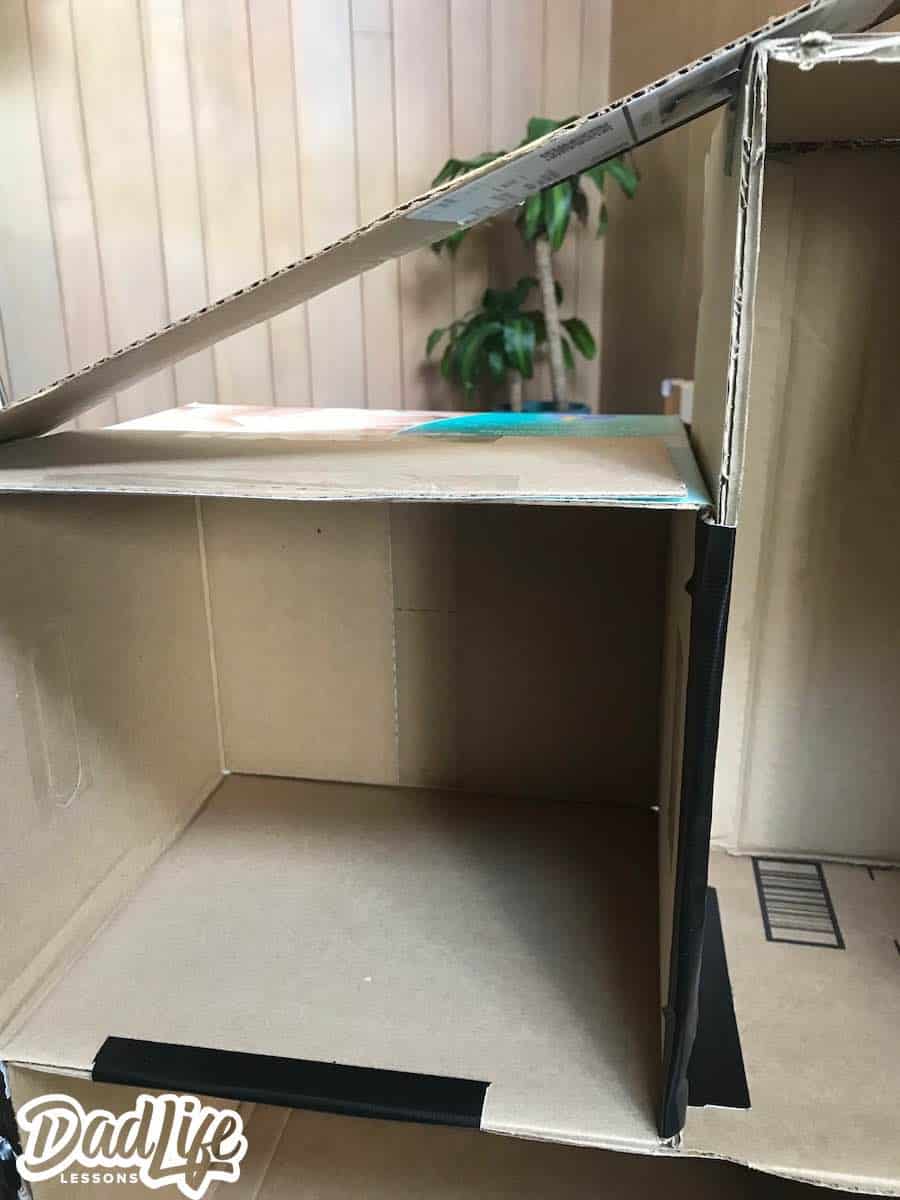
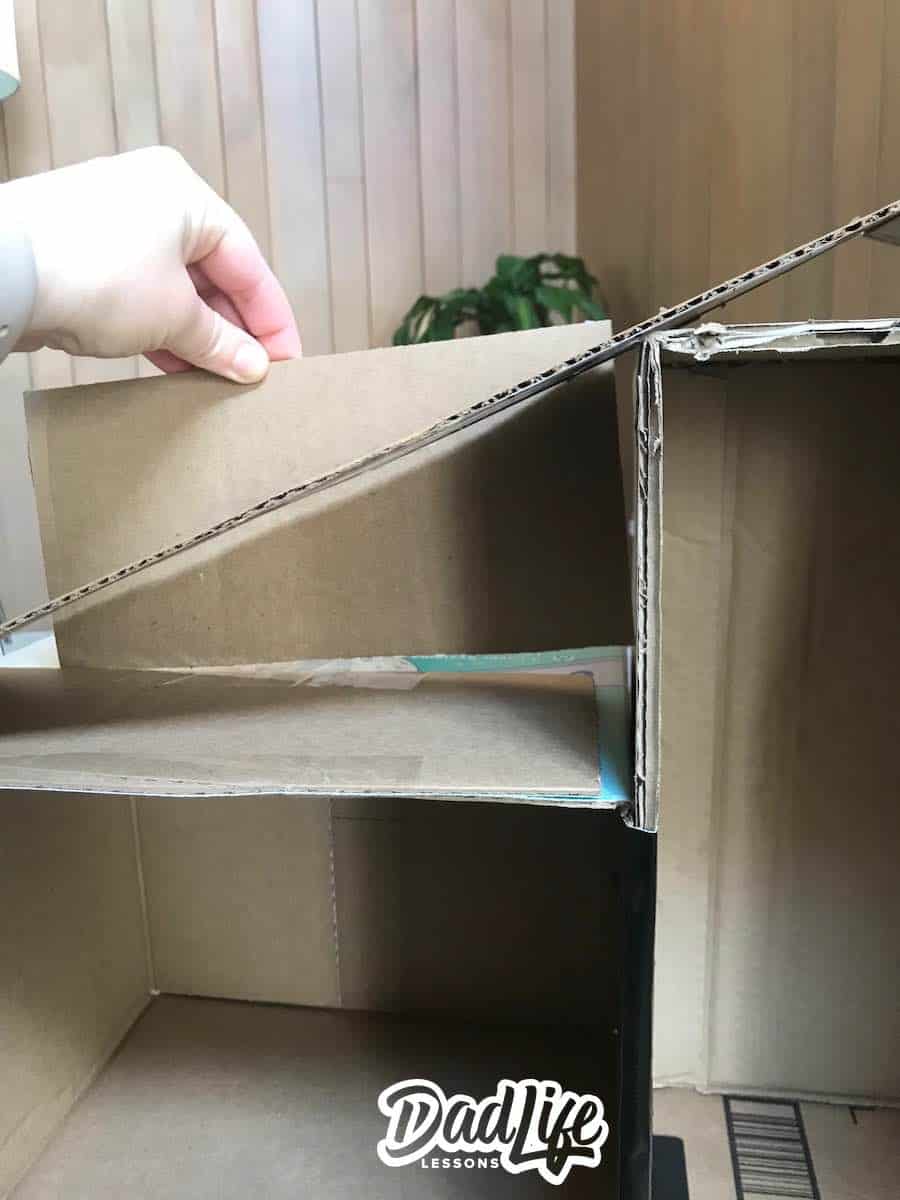
Use more of the extra cardboard flaps as a backer so the roof appears more finished. After attaching with tape, trim it down with the box cutter to match your roof line. By now your boxers should look much more like a dollhouse than a pile that needs to go to the recycle bin.
If your kids can stand to wait any longer, it’s now time to decorate. Fair warning, they may be chomping at the bit to move their toys right into the unfinished cardboard house. In that case, there is nothing wrong with finishing up the edges with a little tape and letting the fun begin! If your kids want you can always tape printer paper to the wall or just let them color directly on the cardboard. My kids couldn’t wait to play with it.
Remember, since kids seem to be naturally drawn to cardboard boxes, there is no requirement to hide the fact that this new “toy” is, in fact, a cardboard box. You can decide the stopping point that works best for you. But, if your kids would enjoy the decorating stage, the options really are endless!

Now it’s time to move in the barbies and superheroes! In addition to the dollhouse, we made a garage area for various cars that went over well with our kids. You can move on to building furniture or accessories at this point, just use some more of the leftover cardboard tape, and as needed markers or colors. Let their imagination run wild and enjoy playing with their new dollhouse.
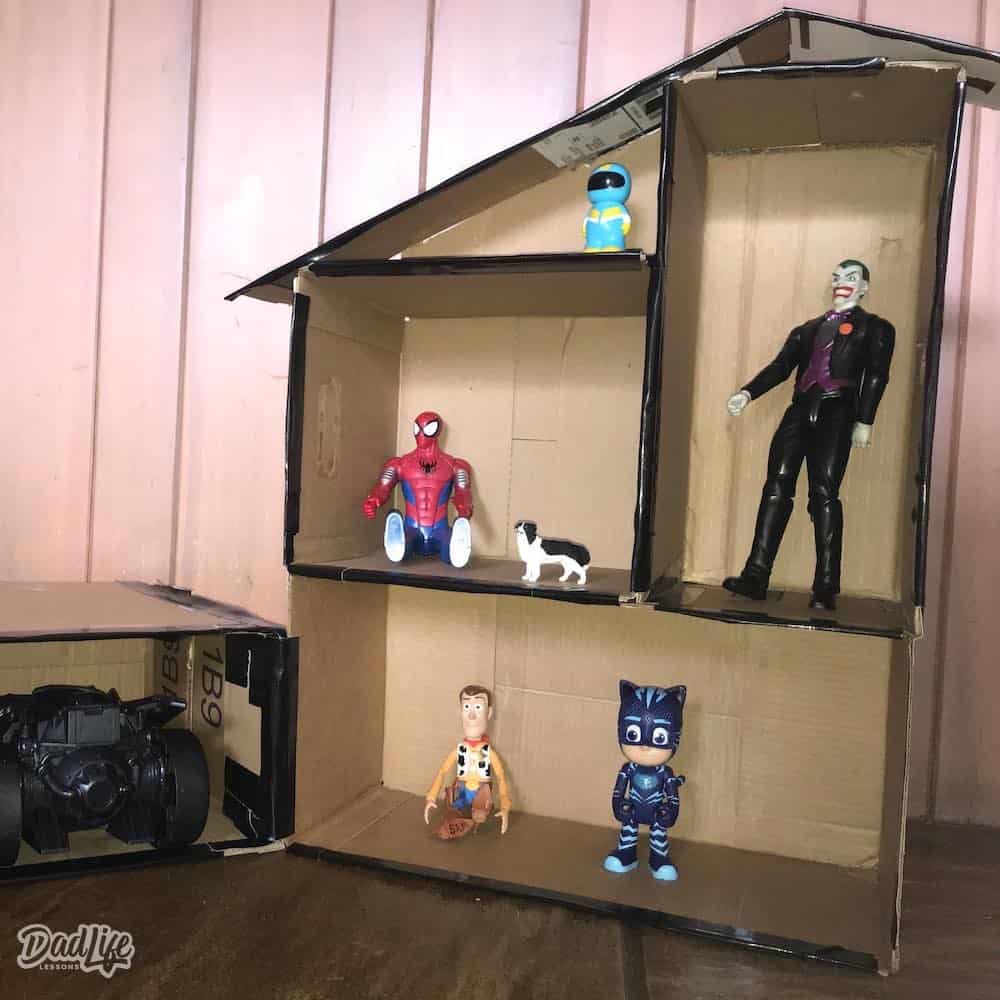
Now you know how to make a dollhouse out of cardboard. It’s amazing what a few cardboard boxes and tape can accomplish and even more amazing to watch your kids use their imaginations with something so simple. Be sure to keep them involved in the building process, you never know what ideas they’ll have in mind for their toy’s new home. The next time boredom strikes, take on this fun and easy activity and make a dollhouse out of cardboard for hours of family fun! If your kids are more into videos games and playing online then you will want to read our tips on protecting our kids online.
Leave a Reply