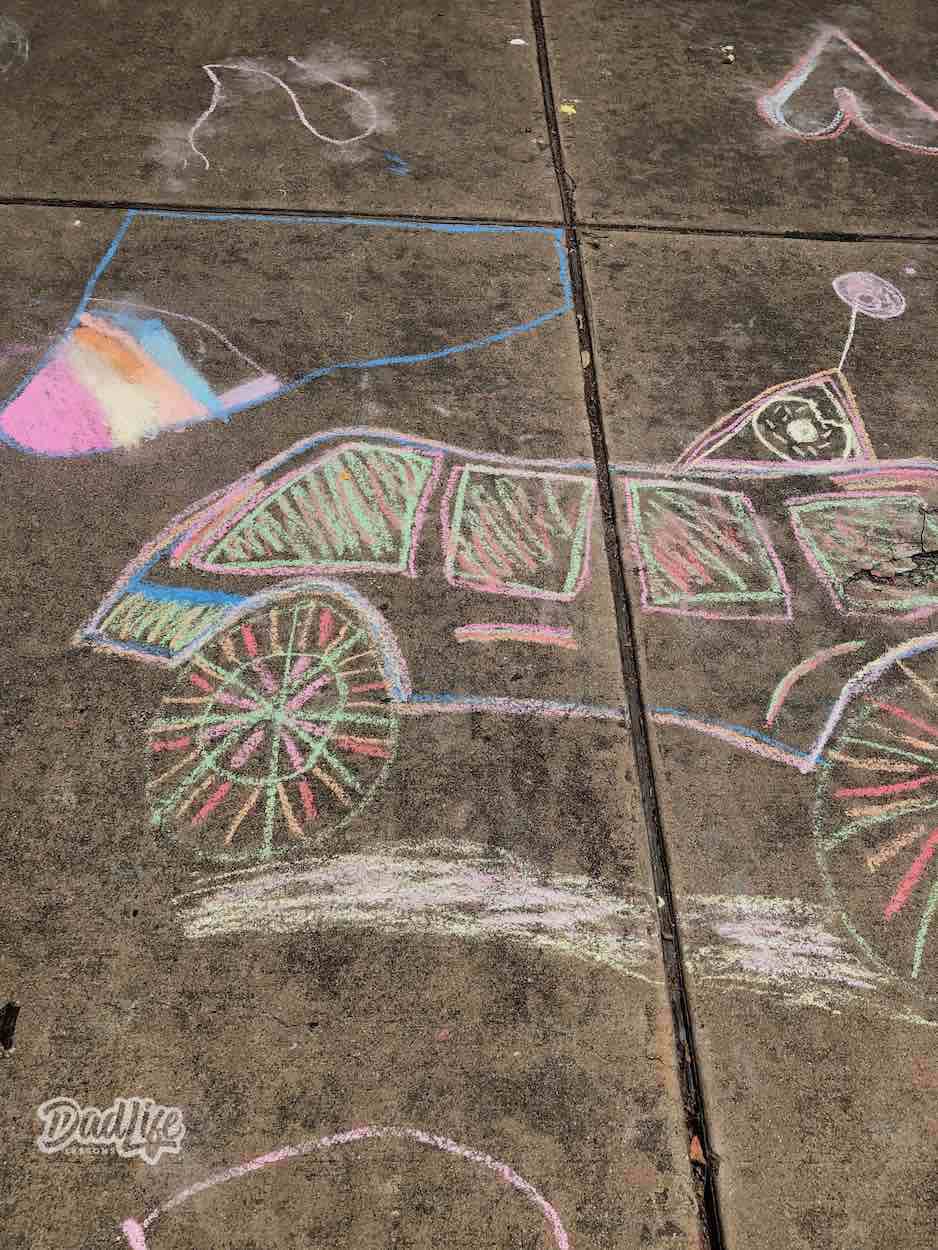
No matter the time of year as parents we are likely to hear Dad or Mom, I am bored from the little one. No need to worry as we are here to help with a great outside activity for any age. Sidewalk chalk is a favorite go-to for hours of fun playing outside. Not only can the kids draw and doodle to their heart’s’ content, but they can also learn a little too while practicing letters, shapes, numbers, and colors. But oftentimes after playing with sidewalk chalk for a while, the new fun wears off and you’re left with kids that are looking for their next activity. Enter Homemade Spray Chalk! We are going to teach you a How To Make Homemade Spray Chalk with this super easy tutorial. Not only is the process very simple, but it’s also a great way to recycle old chalk! Get ready to spend a day outside because the kids will love this fun spin on an old favorite!
How To Make Homemade Spray Chalk
To start out you will need a few supplies that you may even have laying around the house. Easy projects like homemade spray chalk are the best for short notice fun! To make it easy for you if you don’t have spray bottles or sidewalk chalk readily available I linked them so you can order them online. You can order them now and have them ready to go next time you want to make spray chalk.
What You’ll need:
- Spray bottles
- Cornstarch
- Sidewalk Chalk
- Warm water
- Bowl and whisk
- Ziploc bags
- Hammer – (optional) mortar and pestle
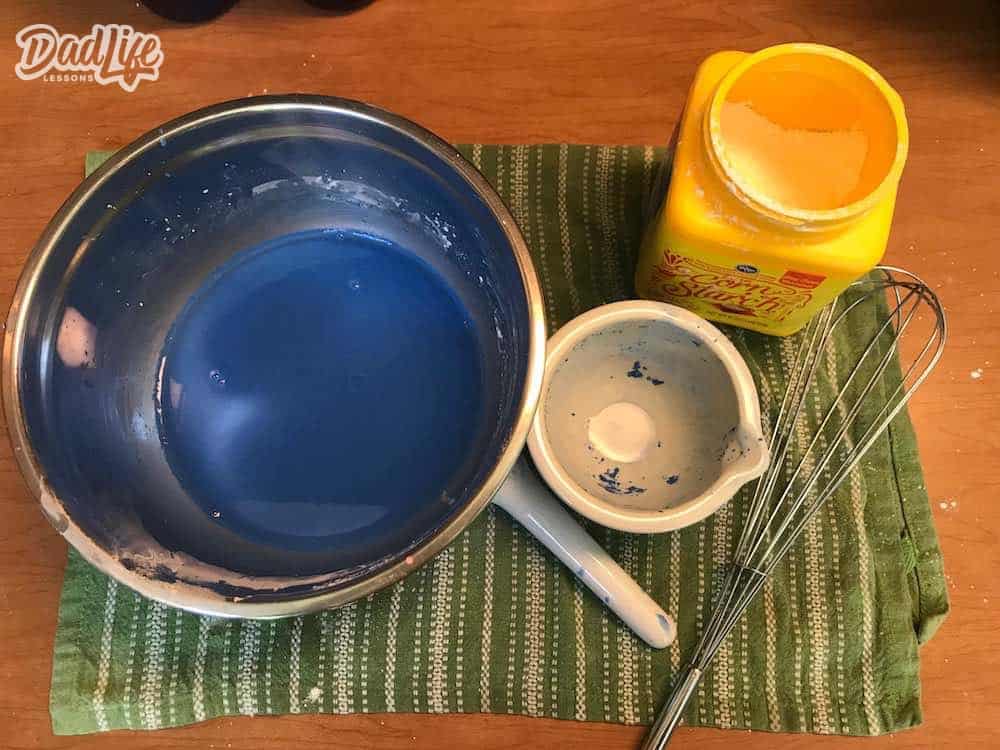
This process of making spray chalk is so easy you can involve the kids in the mixing process for extra fun! Stirring and mixing up their new chalk paint color options can be a fun fine motor skill for little ones. Just be sure you are wearing play clothes! While chalk should wash out, once mixed with water it can be a bit more potent and you’ll want to watch the clothes or just wear clothes that are for playtime anyways. Your going to play with it outside so consider taking the mixing process outside as well for good measure.
For each color, you’ll start with 2 cups of warm water and 1 cup of cornstarch. Mix these ingredients together in a bowl. Kids can help but be sure to supervise and assist to get out as many lumps as you can. A whisk is helpful here to get the lumps out as no one likes a clogged spray bottle.
Now it’s time to add some color! Take a few pieces of chalk in like colors and place them in a ziplock bag so you can crush up the chalk. Use a hammer to break it up and if needed you can move on to a mortar and pestle to get finer ground chalk to use in the bottle. Depending on the age of the chalk I have found sometimes I can even crush it with my fingers. The more ground up the chalk, the easier it will mixup.
Check out these other Kid Occupying posts from Dad Life Lessons:
You don’t have to have it perfect here, but don’t leave any large chunks in the mixture since it will likely clog your spray bottle. Now just add your colorful chalk dust to the water/cornstarch mixture and stir well. Again a whisk comes in handy here as works a little better than a spoon.
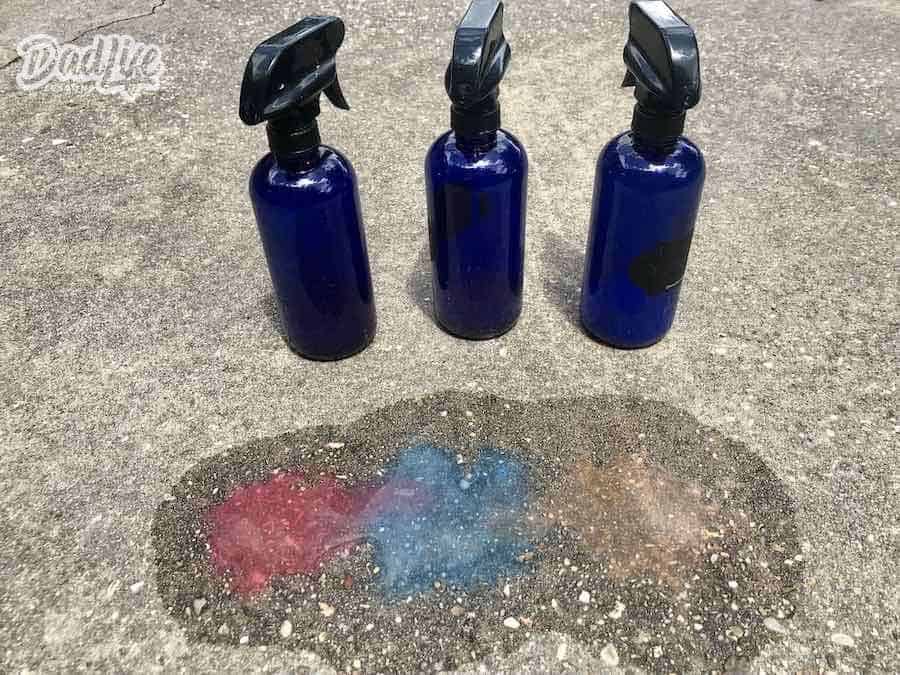
Pour these colorful mixtures into spray bottles and give them each a good shake before sending the kids out to the driveway to test their new Homemade Spray Chalk. Experiment with spraying up close or far away for different depths of color once it dries.
From experience, the kids may feel inclined to cover every inch of concrete (and other items like playground equipment and fences with this stuff)—it’s that much fun! Luckily a rainstorm or water hose is all you need to wash it away, then they can start on their next masterpiece.
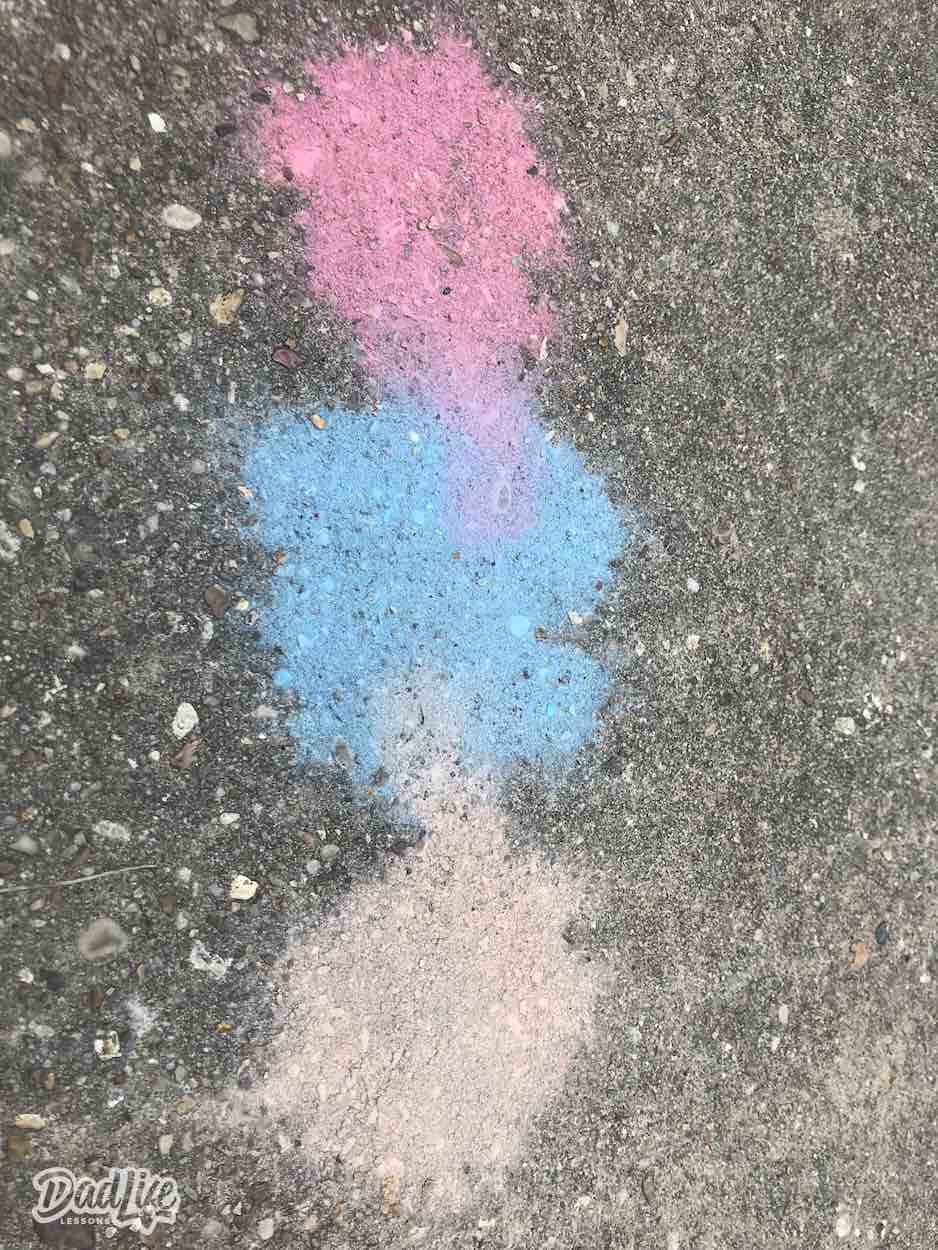
Don’t worry if the first few sprays look like it’s mostly water. The “magic” of the chalk spray paint is how the color comes to life when it dries. Within just a few minutes in the summer sun, the colors will emerge! They can even spray colors over one another to mix them to try to make a new color.
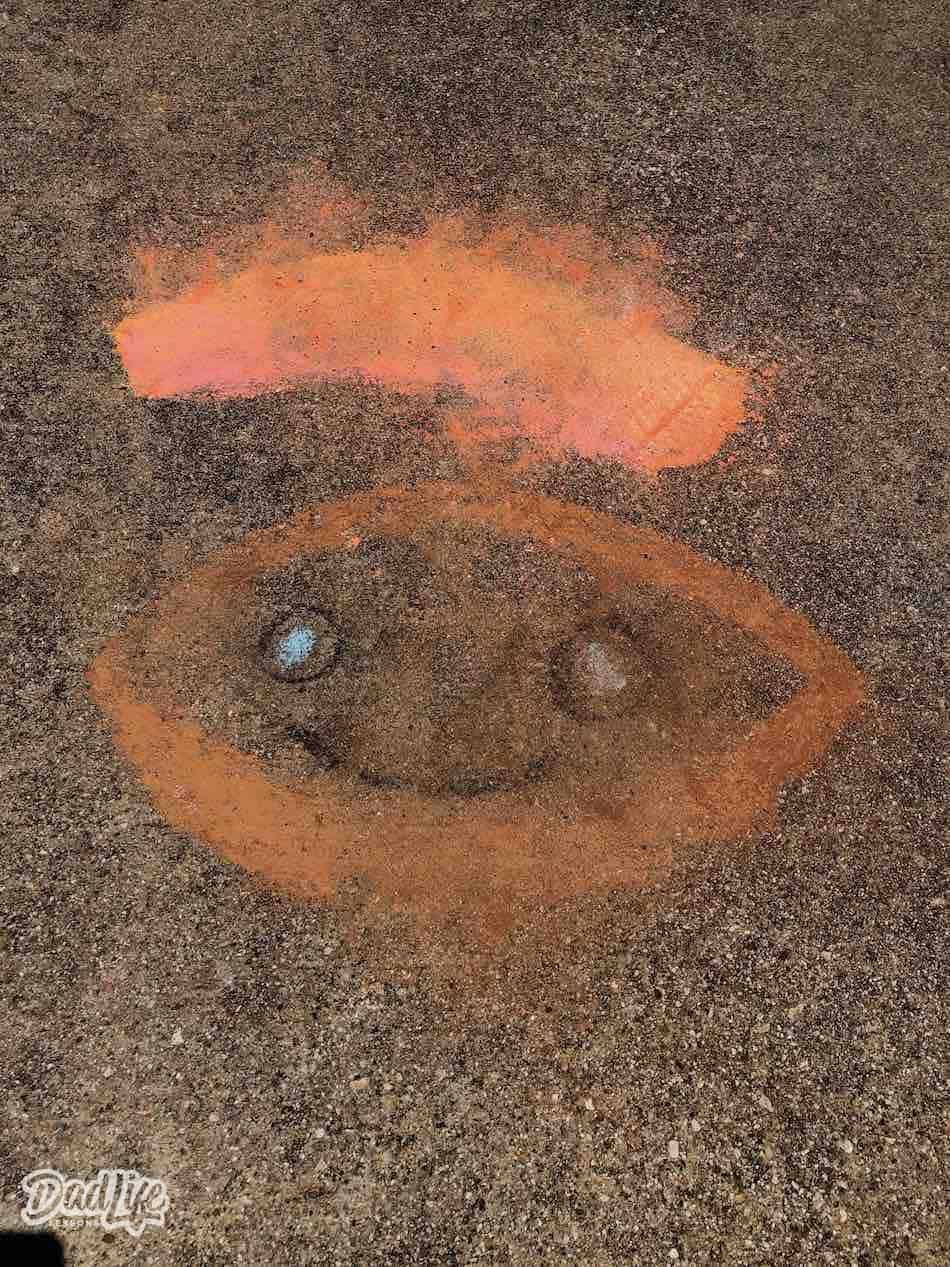
You may find that you need to shake the bottles or add in a bit more water from time to time, but this is really such a simple project that kids of all ages are sure to love! Create more permanent artwork by bringing out large sheets of paper to spray or let the kids color the grass. DIY Homemade Spray Chalk is versatile so there’s no limit to the fun! Plus you can encourage your kids to draw the outline with regular sidewalk chalk then fill-in with the spray chalk for a really cool look. Remember with spray chalk you need to let it dry for the color to really pop. Sometimes my kids just go crazy with the colors and spraying it all over the driveway and they ask me to come to see their chalk firework show.
The next time you find yourself with a pretty day, bored kids, and a bucket of old chalk–give this easy DIY a shot and enjoy a day full of outdoor exploration and artwork fun with Homemade Spray Chalk. I know when they are done playing with the spray chalk their little tummies will be rumbling so check out our fun snacks post for easy snack ideas. Remember that when it rains their creation will wash away, so when they make that amazing design remember to snap a picture of it from your phone or camera. Our daughter even asked us to print out a few of her art designs to keep in her room.
Leave a Reply